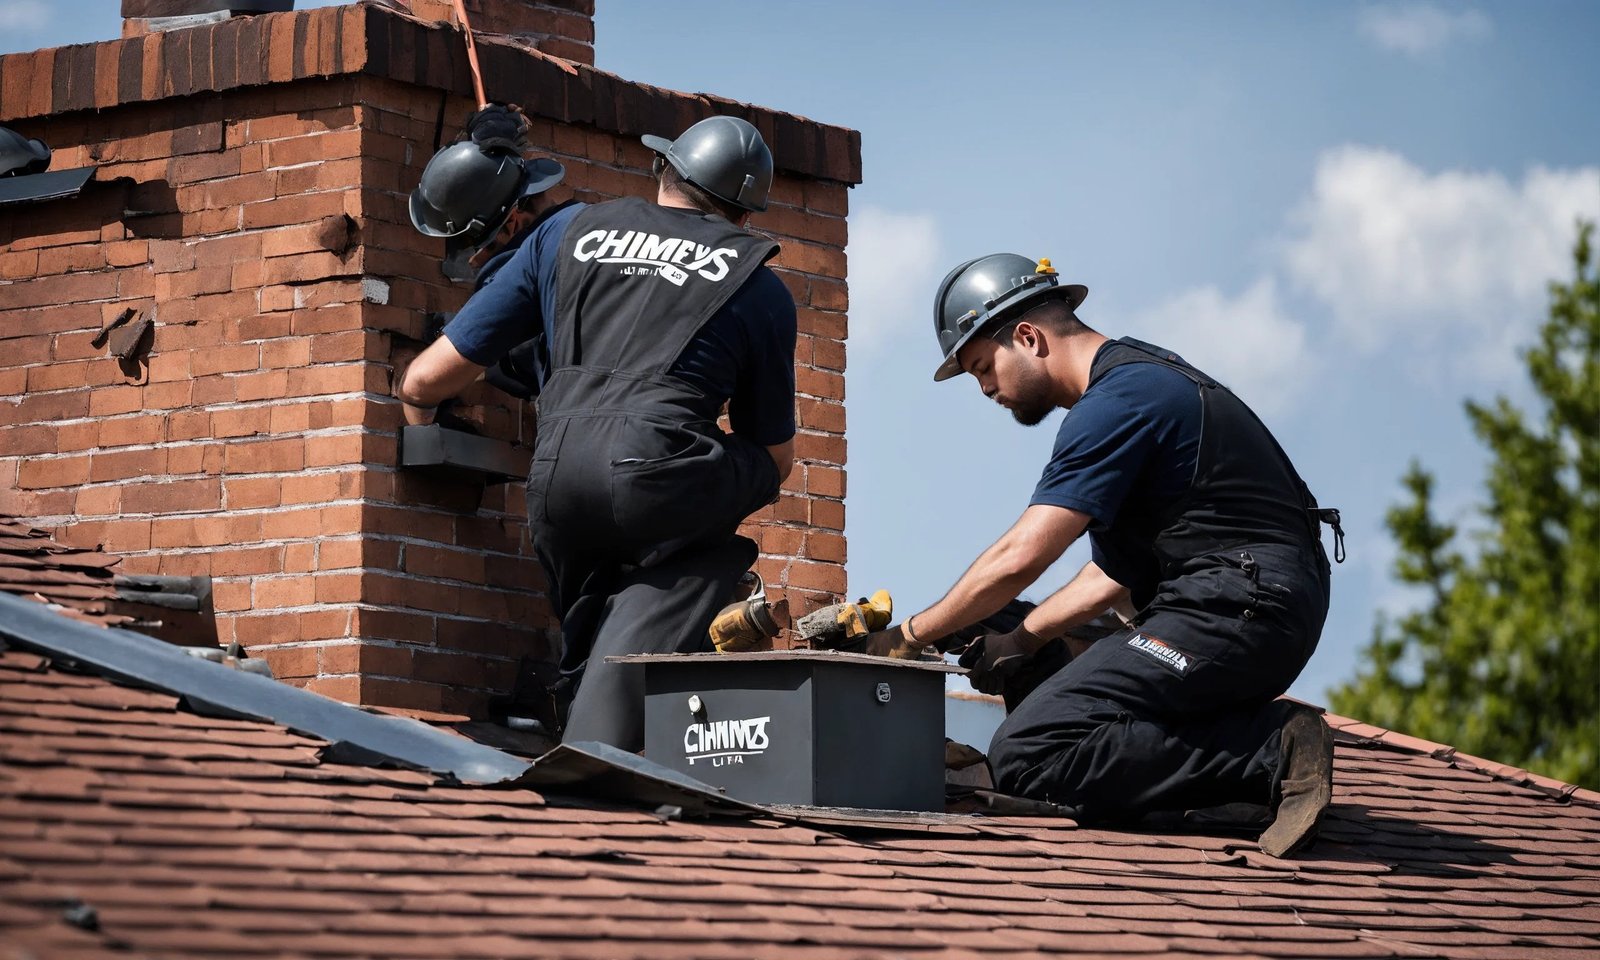
The chimney cap is a crucial component of any chimney system. It is the first line of defense against weather elements such as rain and snowfall entering your chimney. It also prevents debris and animals from entering your home through the chimney. If your chimney cap is damaged or worn out, it is essential to replace it immediately to prevent any further damage to your chimney. In this blog post, we will guide you on how to replace your chimney cap yourself safely and efficiently.
Equipment You Need To Replace Your Chimney Cap:
Screwdriver Set: To remove screws securing the existing chimney cap.
Ladder: To access the chimney safely. Choose a sturdy ladder that reaches the necessary height.
Measuring Tape: To accurately measure the dimensions of the chimney and ensure a proper fit for the replacement cap.
Safety Gloves: Protect your hands while handling the chimney cap and other tools.
Chimney Cap Mounting Hardware: Ensure you have all the necessary nuts, bolts, and concrete screws to securely attach the new cap.
Step 1: Measure Your Chimney Flue
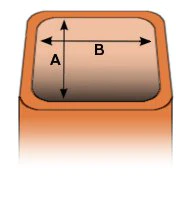
Before purchasing a new chimney cap, you need to measure the height and width sizes of your chimney flue.
Determine whether the flue is round, square, rectangular, or another shape. This information is crucial for selecting the right chimney cap design.
You can do this by removing the old chimney and using a tape measure or ruler or calling in a chimney professional to help you out. If you measure it correctly, you will get the right size of your chimney cap.
Step 2: Purchase a Suitable Chimney Cap
When purchasing a chimney cap, ensure that it fits appropriately on your chimney flue, which you have just measured to avoid complications.
It would help if you also considered the material that the cap is made of, such as stainless steel, copper, or galvanized steel.
We recommend to buy the new cap from this suppliers:
Home Depot – Great basic chimney caps for good prices.
Fireside Chimney Supply – High quality of caps but more expensive.
Step 3: Clean Your Chimney Flue and Cap
It would help if you used a brush and a scraper to clean your chimney flue and the old chimney cap before installing the new one.
This process will remove any soot or debris that may have accumulated over time.
By cleaning your chimney flue, you will also ensure that there is no obstructions that may hinder the proper functioning of your new chimney cap.
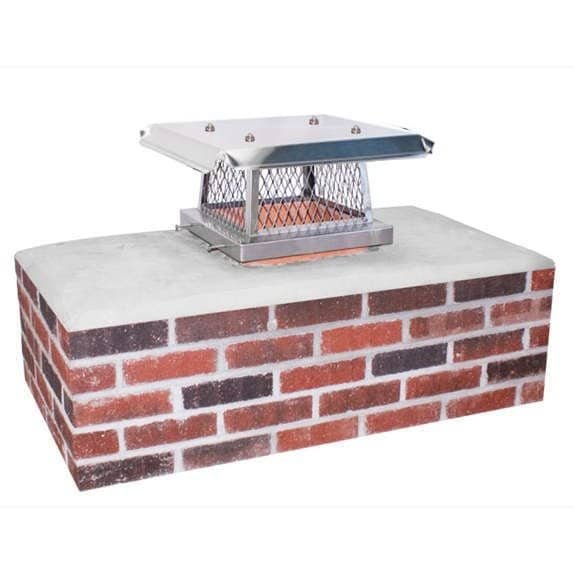
Step 4: Install The New Chimney Cap
With your cleaned chimney flue and the new cap in hand, you can now proceed with the installation process.
Depending on the type of cap you are installing, this process may vary. Some require screws to secure them in place, while others are held in place by a friction fitting.
Ensure that you follow the installation instructions of the cap you have purchased to get the best results.
Step 5: Inspect and Test Your Chimney Cap
Once you have installed the new chimney cap, it is vital to inspect it to ensure that it is secure and functioning correctly.
You can do this by carefully examining it to see if it fits correctly and checking that it rotates easily in the wind.
Once you are satisfied with the new cap’s functionality, you can then do a test run by lighting a small fire in your fireplace and observing if any smoke or fumes are escaping through the new chimney cap.
Conclusion:
The chimney cap is an essential component of your chimney, and it is vital to maintain it properly.
Regular maintenance, such as cleaning the cap and the chimney flue, can help prolong its lifespan.
If your chimney cap is damaged or worn out, you can purchase a new one and follow the steps outlined in this blog to replace it yourself.
However, we always advise contacting a professional if you are unsure about chimney maintenance or replacement. This will ensure that your chimney is safe, efficient, and functioning correctly.